The Cypher Setups That Make Sunset Miserable for Attackers
You know that feeling when you cross a doorway and just... die? No warning, no sound, nothing.
That's a good Cypher player. And on Sunset, this agent might be the nastiest Sentinel in the game.
Here's the thing: Sunset was built for split attacks. Three lanes, a contested Mid, two sites that both feel exposed. Cypher eats that structure alive — if you place his utility right.
This isn't another generic "here's where to put your trip" guide. We're breaking down the actual sequencing, the mind games, and the mistakes that get your setups clapped by round three.
Why Cypher Thrives on This Map
Cypher doesn't win by standing in doorways. He wins by knowing things before you do.
A Trapwire tells him someone's flanking. A Spycam lets him scout without risking his life. A Cyber Cage blinds you at exactly the wrong moment.
A genuinely good setup checks at least a couple of these boxes:
- It reveals attacker movement
- It buys time against a fast execute
- It sets up a favorable spray window
- It protects Cypher from getting flanked
- It gives teammates a rotation window
Notice something? Kills aren't on that list. If your trip makes attackers stop and destroy it, you already won something.
The B-Site Setup That Punishes Both Entrances
B site gets hit from two directions — B Main and Market. Ignore one, and you get pinched. Hard.
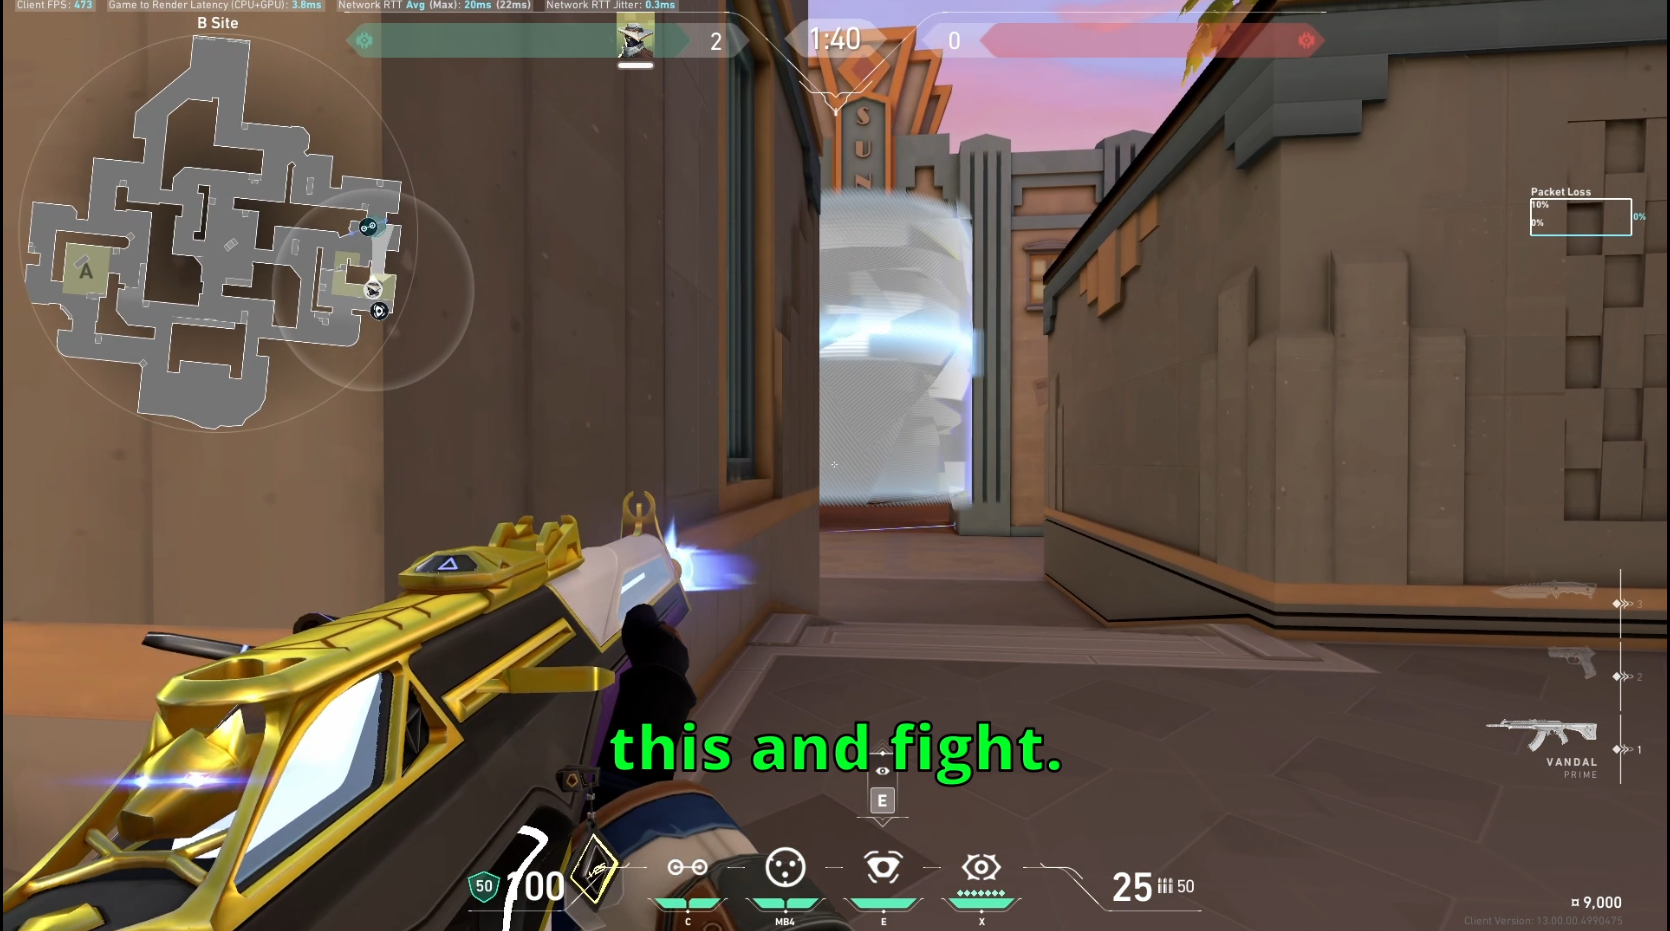
Step one: the B Main one-way Cyber Cage.
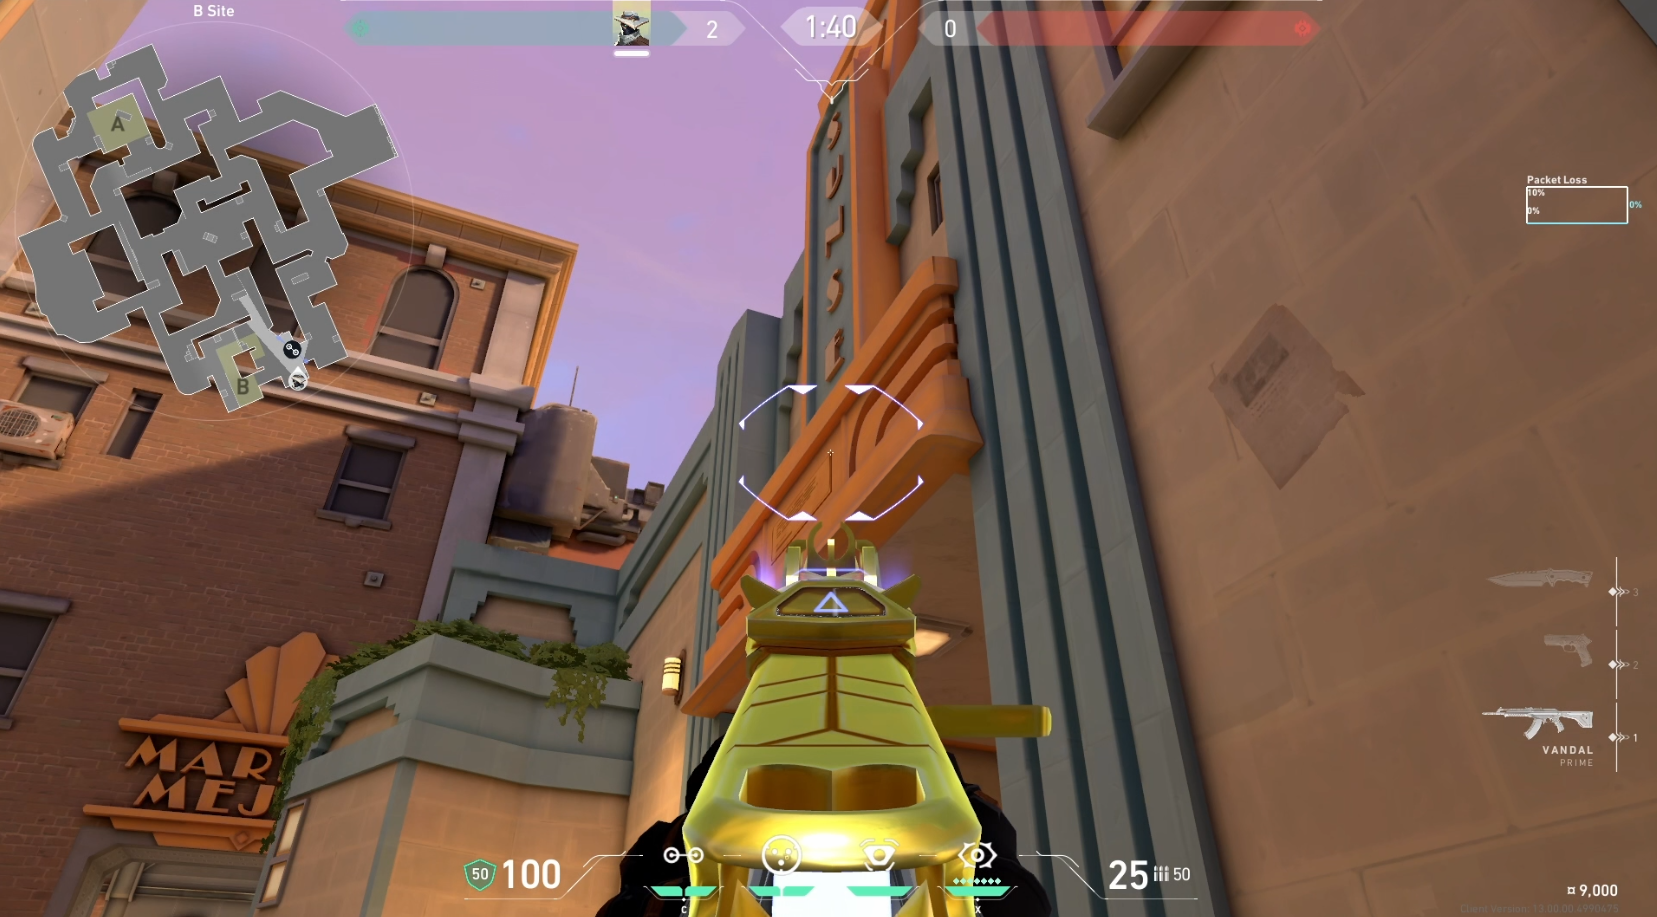
Throw the cage up on the elevated surface near B Main, not on the ground. Done correctly, it blocks the attacker's upper body while leaving their legs exposed to a defender playing deeper on site.
Don't pop it the second you hear a footstep. Rookie mistake. Wait until they're committed — close enough that backing out costs them time.
Then:
- Let them get near the entrance
- Activate the cage
- Watch the gap under it
- Fire low, at the legs
- Move immediately after the kill
Sit in the same spot twice and someone will prefire it next round. Change something every time — position, timing, whatever.
Step two: the Market Trapwire.
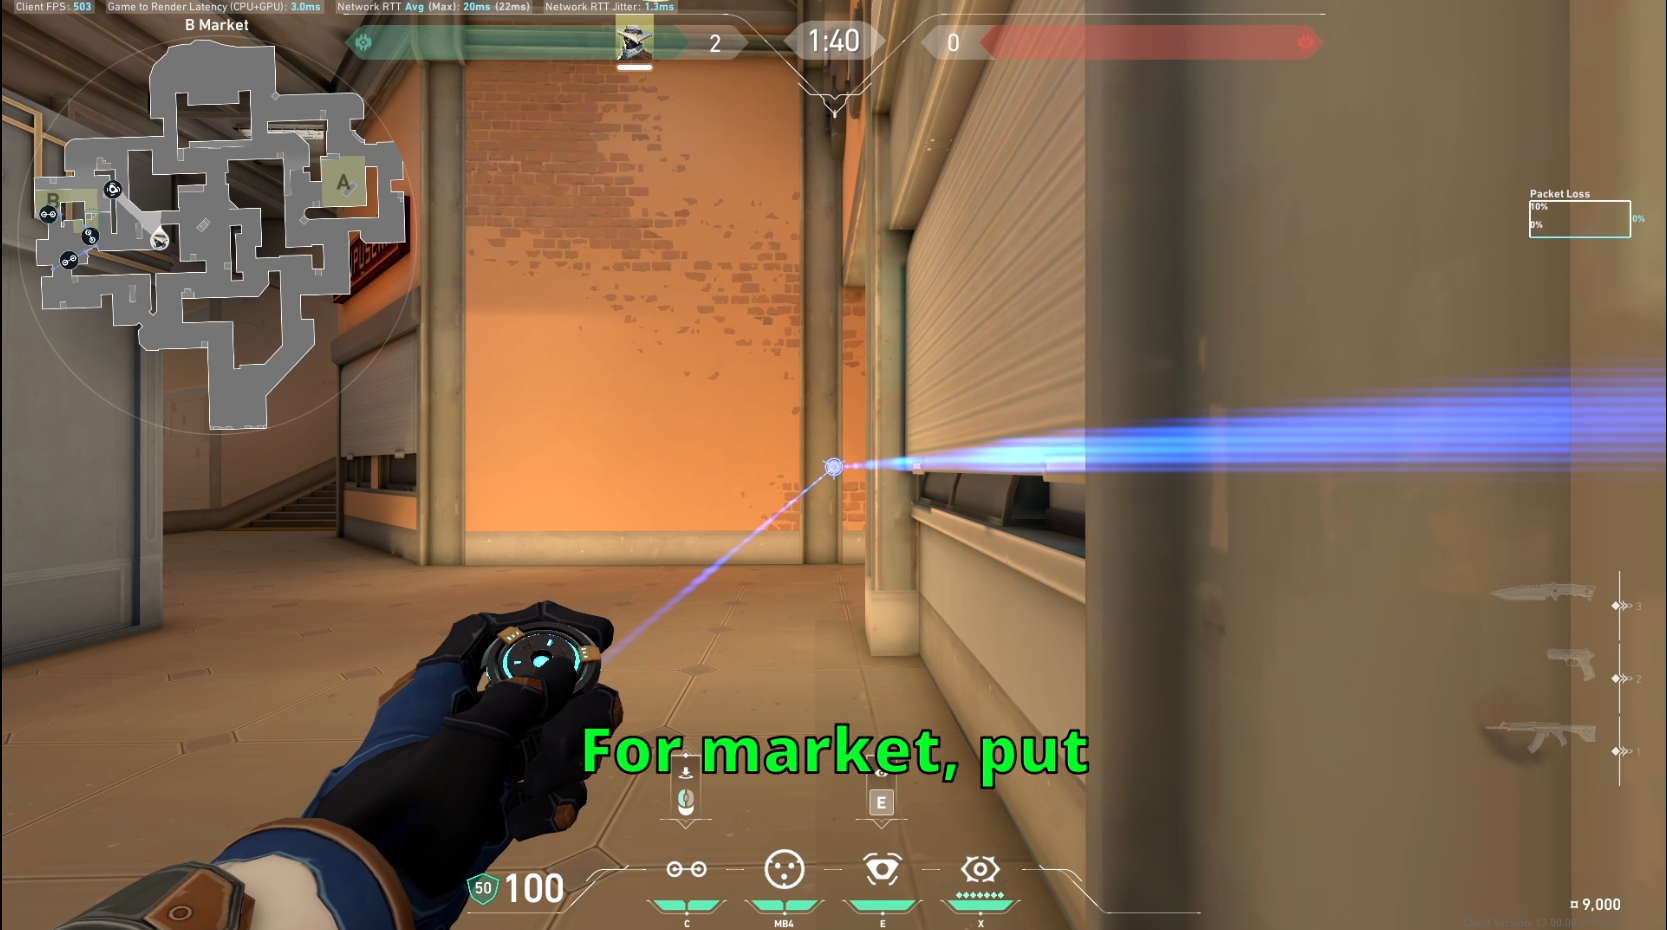
This one's less about kills, more about not getting blindsided. A wire across Market means anyone rotating through Mid has to deal with it — trigger it, waste time destroying it, or burn a movement ability to skip it.
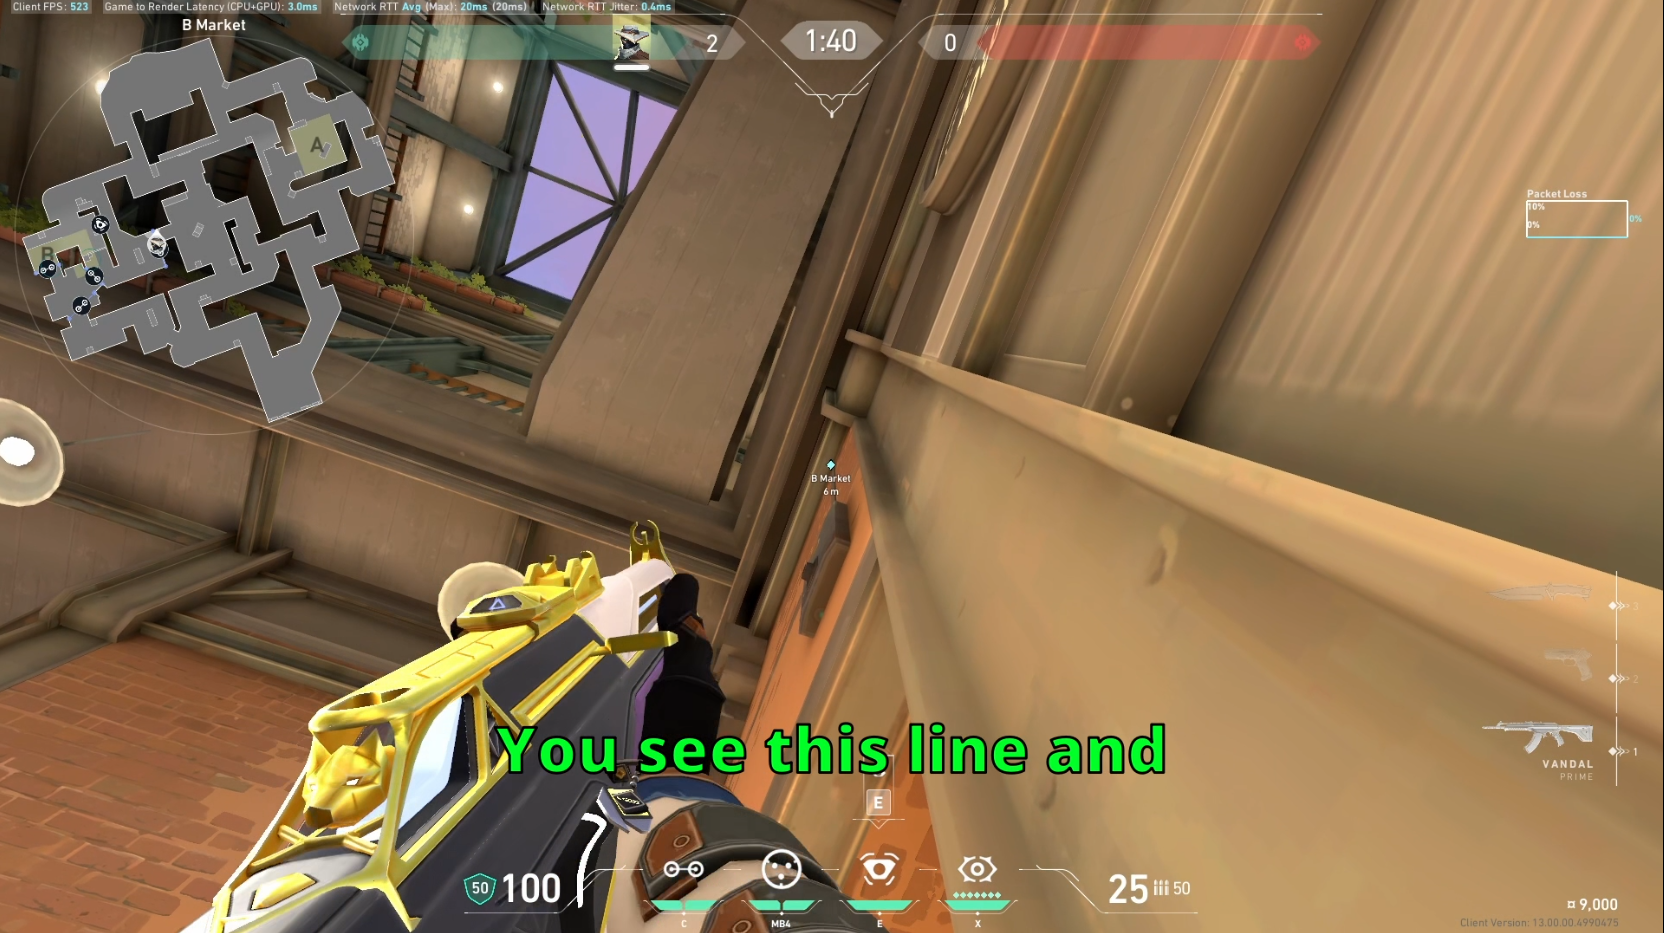
Vary the height. A standard wire gets ducked under within a week of ranked games. Try it diagonal. Try it slightly elevated. Keep attackers guessing.
If it triggers while you're holding B Main, don't just say "trip broke." Say something useful:
"Market trip broken, at least one through there, B Main's getting pressure too."
That's a call your team can actually act on.
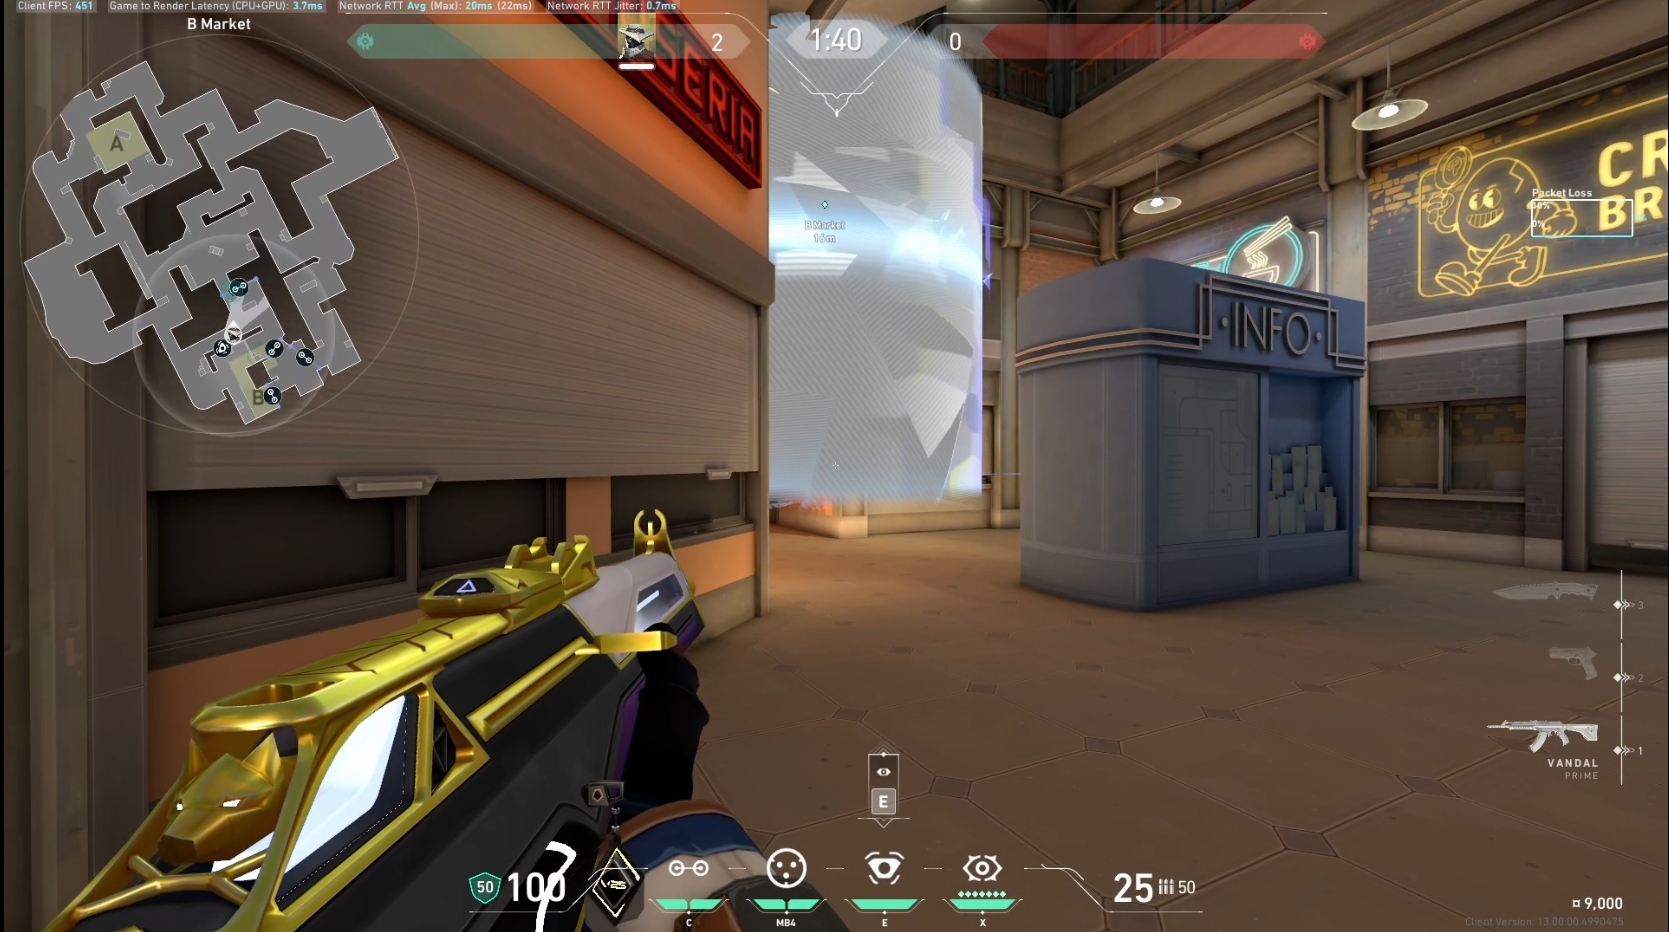
The A-Site Combo: Wire, Cage, Camera
A site rewards patience over aggression.
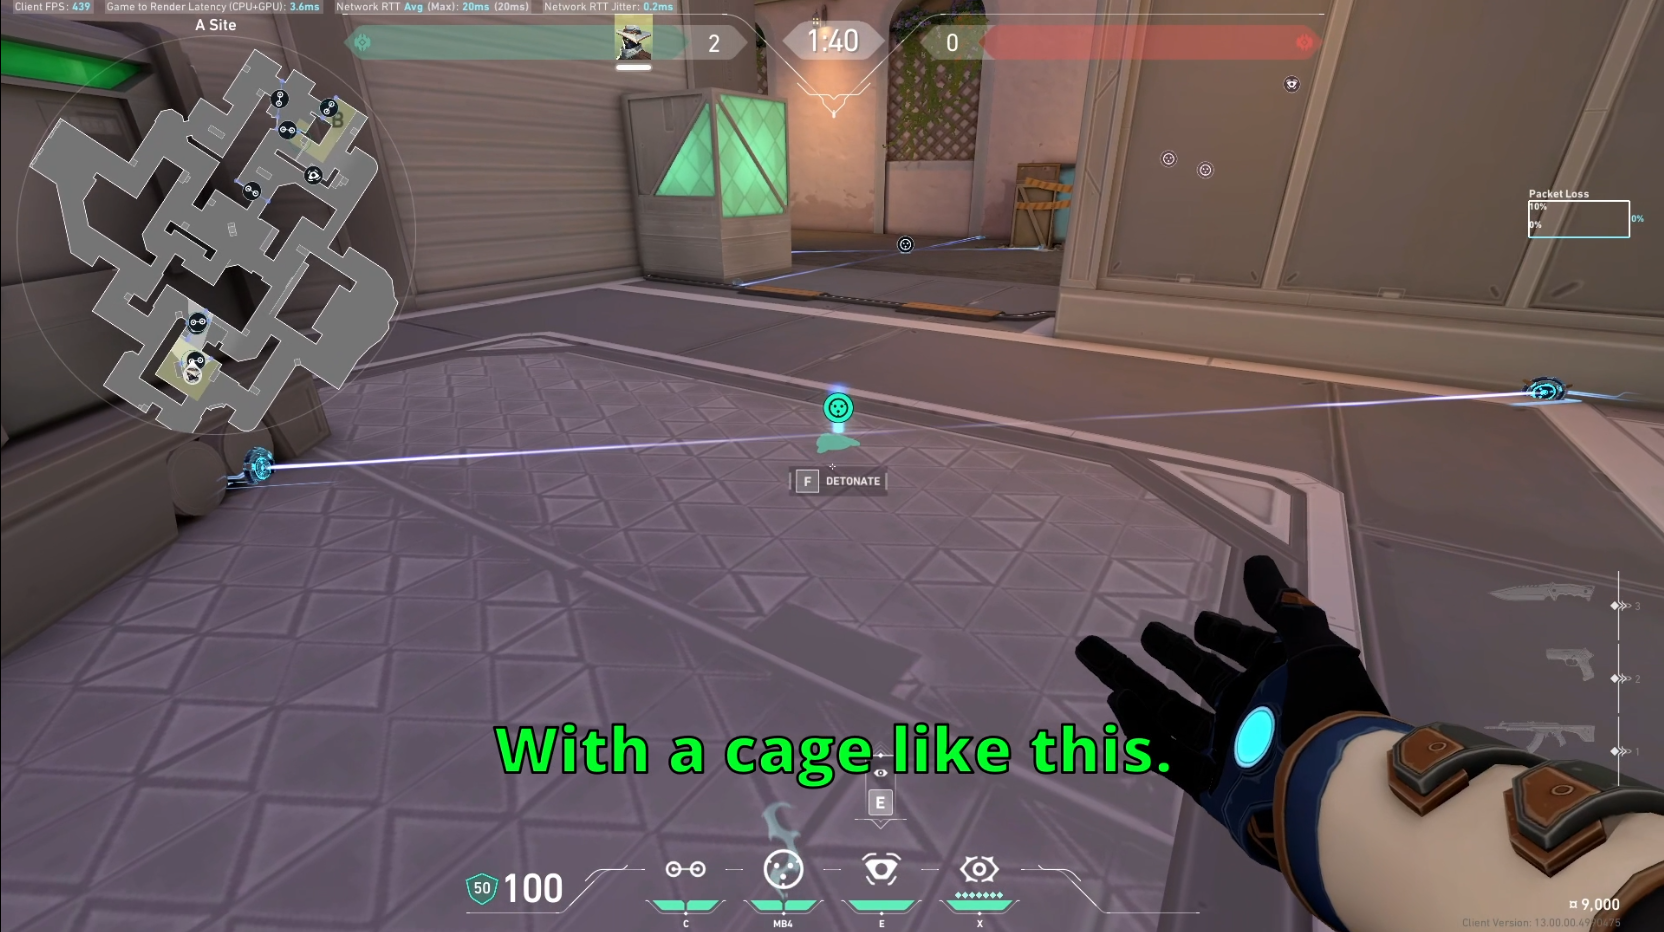
Start with a diagonal Trapwire across the entrance. Diagonal placements are genuinely harder to spot than the standard horizontal line — attackers are busy checking angles, not scanning for wires at weird heights.
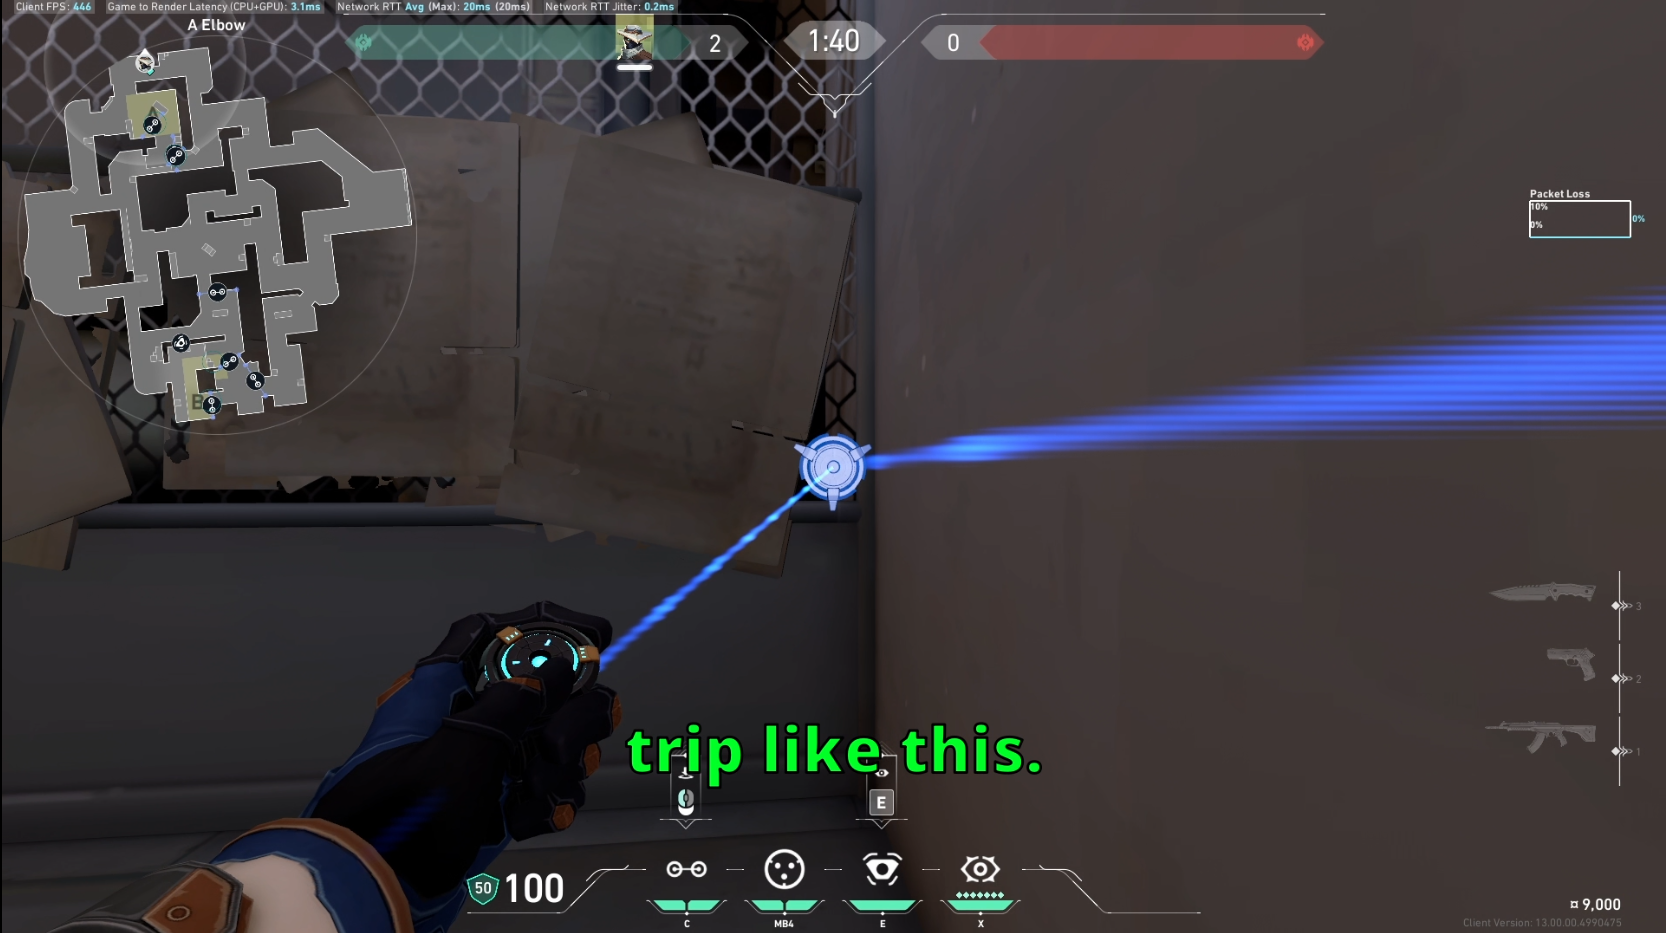
Layer a Cyber Cage right where the wire activates. Once someone trips or starts destroying the wire, pop the cage immediately. Now they're blind, and you know roughly where they're standing.
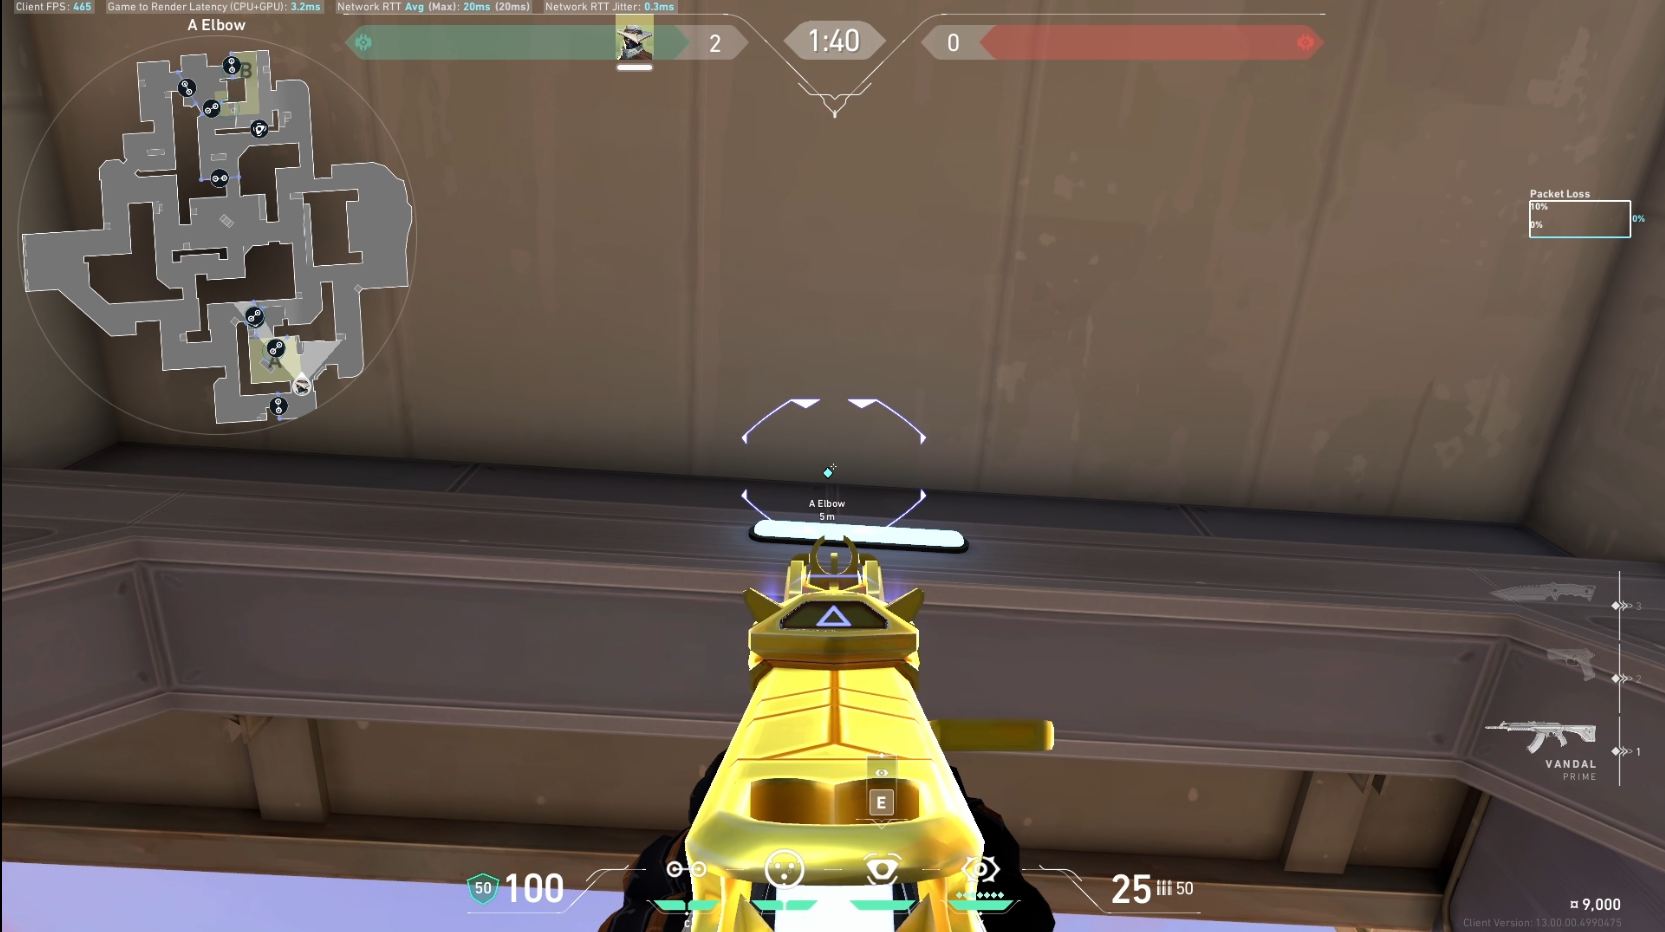
The sequence matters:
- Wait for them to enter the wire's zone
- Activate the cage
- Listen for the crossing sound
- Fire a short, controlled burst
- Stop if you lose the read
- Reposition before they return fire
Quick weapon note — the Phantom genuinely shines here. No visible tracers means attackers get less info about your exact position while they're already blind. Vandal works fine too, just keep bursts tight and move after every engagement.
Finish with an elevated Spycam on the A-site high ground. It sees more of the site, it's harder to spot, and it lets you count entries before committing to a fight.
Resist the urge to tag someone the instant you spot them. Firing the dart reveals the camera's location almost instantly. Save it for moments that actually matter — confirming a plant, interrupting a defuse, creating panic mid-execute.
Don't Sleep on the Mid Camera
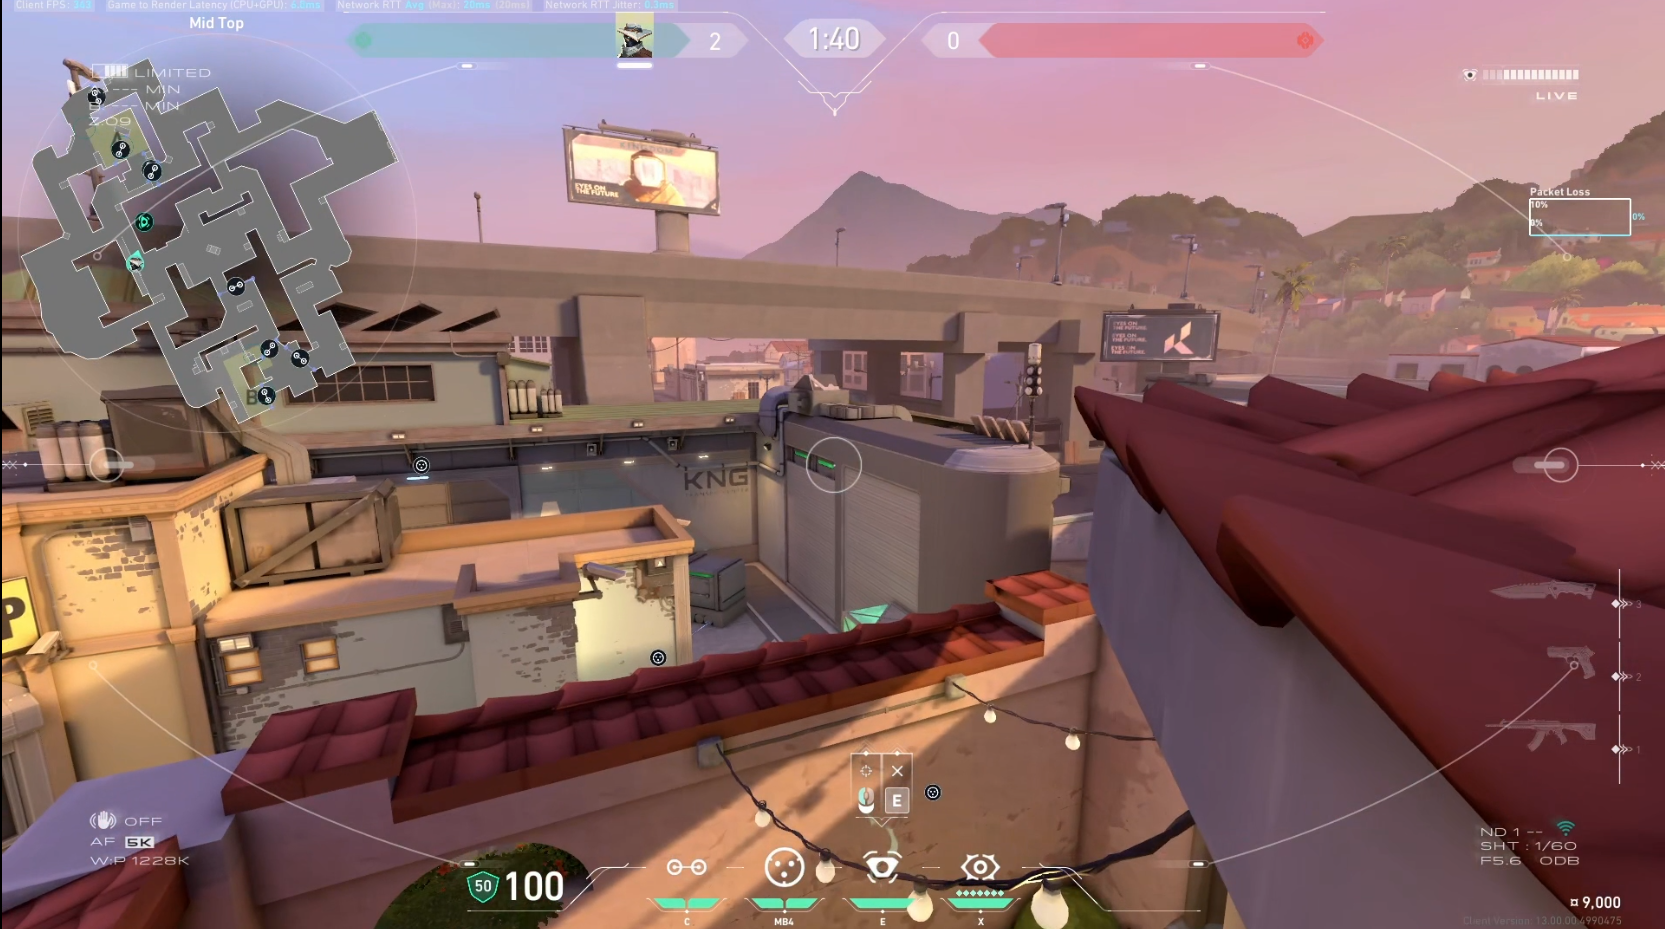
Cypher only gets one Spycam per round, and sometimes A isn't where it belongs.
A camera watching Mid Top tells your team whether a split is forming, whether Mid is empty (fast execute incoming), or whether someone's hanging back to lurk.
Multiple players spotted Mid? Expect a Market or A split. Nobody there at all? Get ready for a fast site hit.
Where Setups Go Wrong
Activating too early. Wait for confirmation — footsteps, a teammate call, camera info. Not paranoia.
Peeking the instant a wire snaps. Attackers expect this. They'll hold an angle waiting for you to swing.
Living in the Spycam feed. You're a sitting duck while watching it. In, check, out.
Repeating the exact same setup round after round. Good teams memorize positions fast. Small tweaks keep you unpredictable.
Forgetting to recall utility when the fight's clearly elsewhere. Reusable equipment is valuable — don't waste it.
The Real Takeaway
Cypher's real job isn't fighting everyone who walks in. It's making every single entrance feel like a trap that might or might not be real.
Punish careless B Main entries with the one-way. Protect Market so nobody splits you silently. Slow down A with the wire-cage combo. Pick your Spycam location based on what your team actually needs to know.
And change it up constantly. The moment attackers think they've solved your Cypher, you've already lost your edge.
Setup credit goes to RBSvlr, whose Sunset walkthrough on YouTube shows the exact lineups and positioning referenced above — worth a watch if you want the visual reference.