That grenade jump is going to make you rage-quit at least once. Probably twice.
If you're grinding through Halo: Campaign Evolved and you've hit the second mission, simply called "Halo," you already know it's hiding stuff from you. Three Skulls. One Terminal. And one of them requires a jump that feels borderline unfair the first time you try it.
Here's the thing about this mission's collectibles: they're not just shiny trophies anymore. Every Skull you grab unlocks a real gameplay modifier for Campaign Remix, which means your next playthrough can get easier, harder, or completely unhinged depending on what you toggle on.
So let's get you all four.
Quick Reference
| Collectible | Checkpoint | Forgotten Terminal | Flawless Cowboy / Rally Point Alpha | Give & Take Skull | Reunion Tour / Rally Point Charlie | Grunt Funeral Skull | Reunion Tour / Rally Point Charlie | Floor Is Lava Skull | Reunion Tour / Rally Point Charlie
The Forgotten Terminal
This one's the freebie. Almost too easy, honestly.
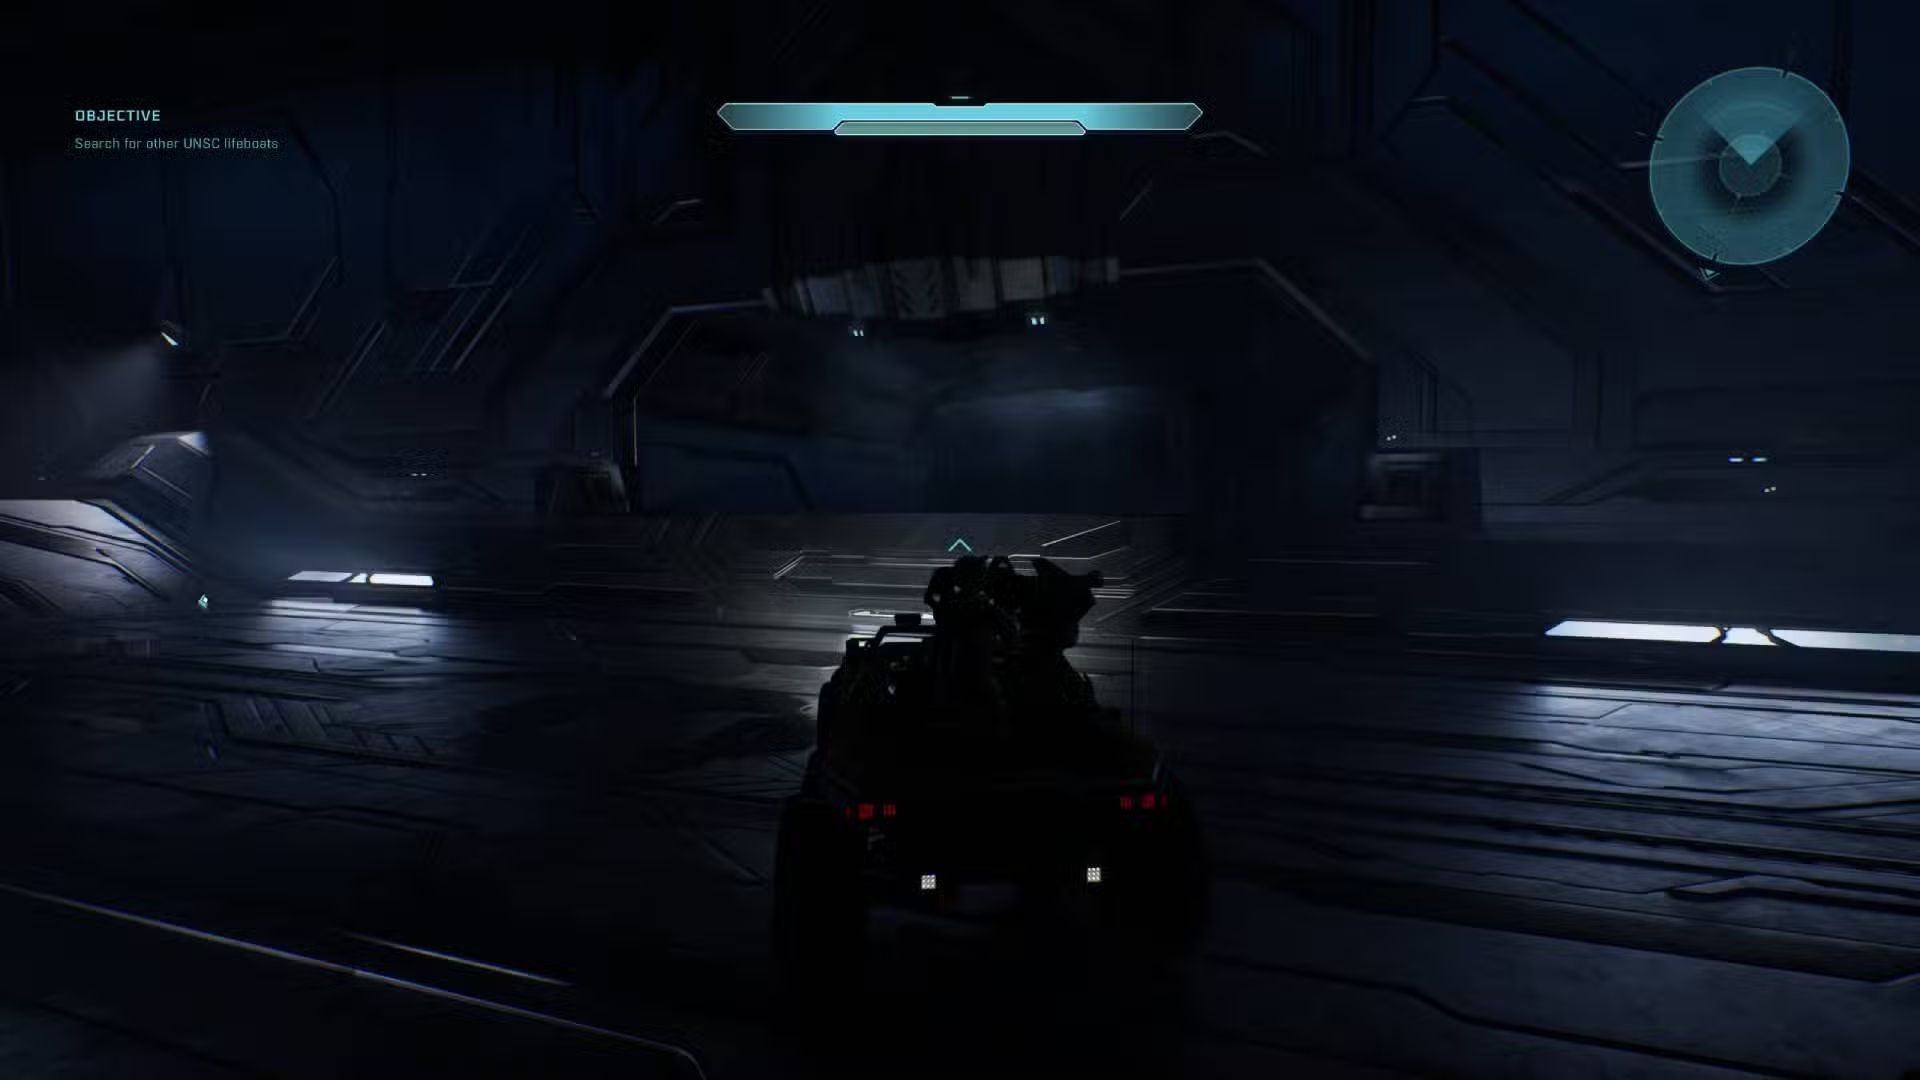
Once you've grabbed the Warthog and dropped into the underground tunnel system, keep an eye on the right-hand wall as you drive. You'll pass an open window that looks down into a lower section.
Stop the Warthog. Get out. Peek over the edge.
There's a narrow ledge sitting just below that opening — drop onto it, follow it around, and you'll walk straight into the Terminal. Interact with the screen and it's yours.
Missed it? No panic. Reload Flawless Cowboy or Rally Point Alpha and try again.
Give & Take Skull
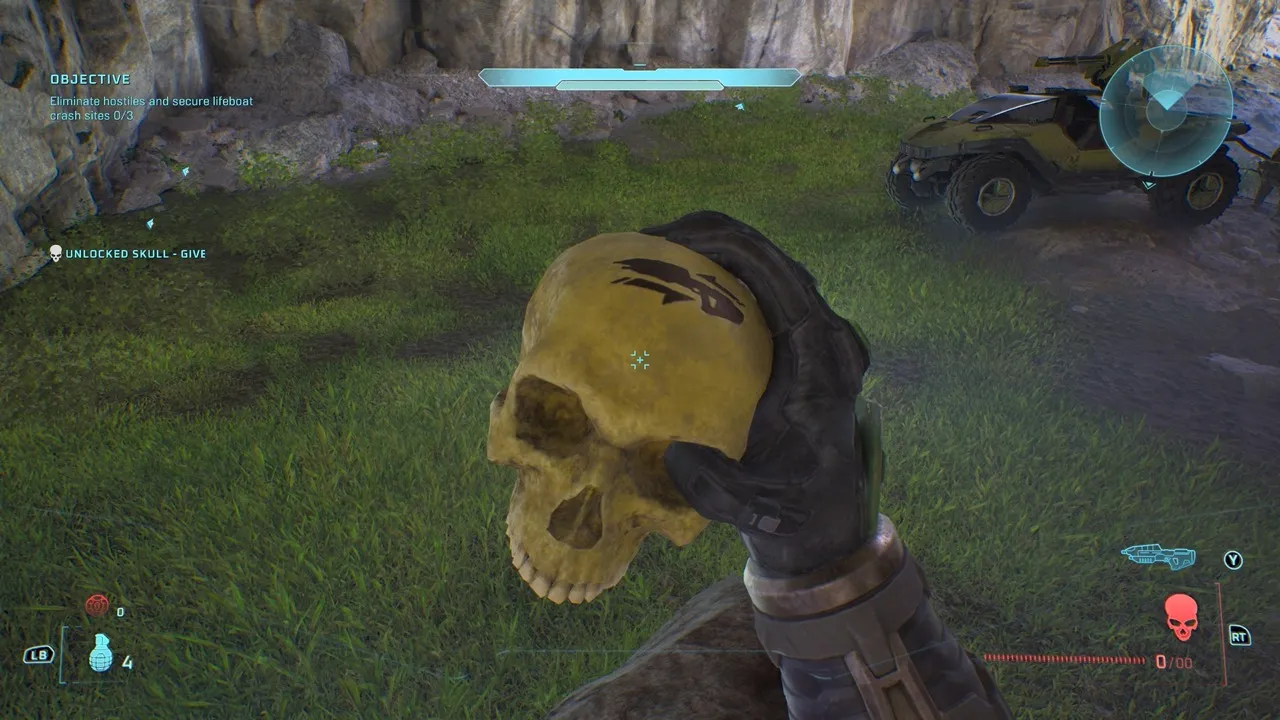
This is where the mission opens up into that big valley with three separate rescue objectives, and honestly, this Skull is the easiest of the three to grab.
Head toward the right-hand objective and hug the right side of the valley as you drive. You're looking for a river.
Follow it upstream. It dead-ends into a small cave — and that's your spot.
Inside, you'll spot a cluster of glowing green flies buzzing near the rocks. Get close and listen. Skulls in this game whisper before you see them, and this one's no different. It's floating just above the ground near the rocks.
What does Give & Take actually do?
It flips your shield economy on its head. Fire your weapon, your shields drain. Land hits on enemies, your shields refill.
Think about what that means in practice: missing shots isn't just wasted ammo anymore, it's actively dangerous. But if you're accurate? You can basically tank your way through a firefight on pure aim skill alone.
Grunt Funeral Skull
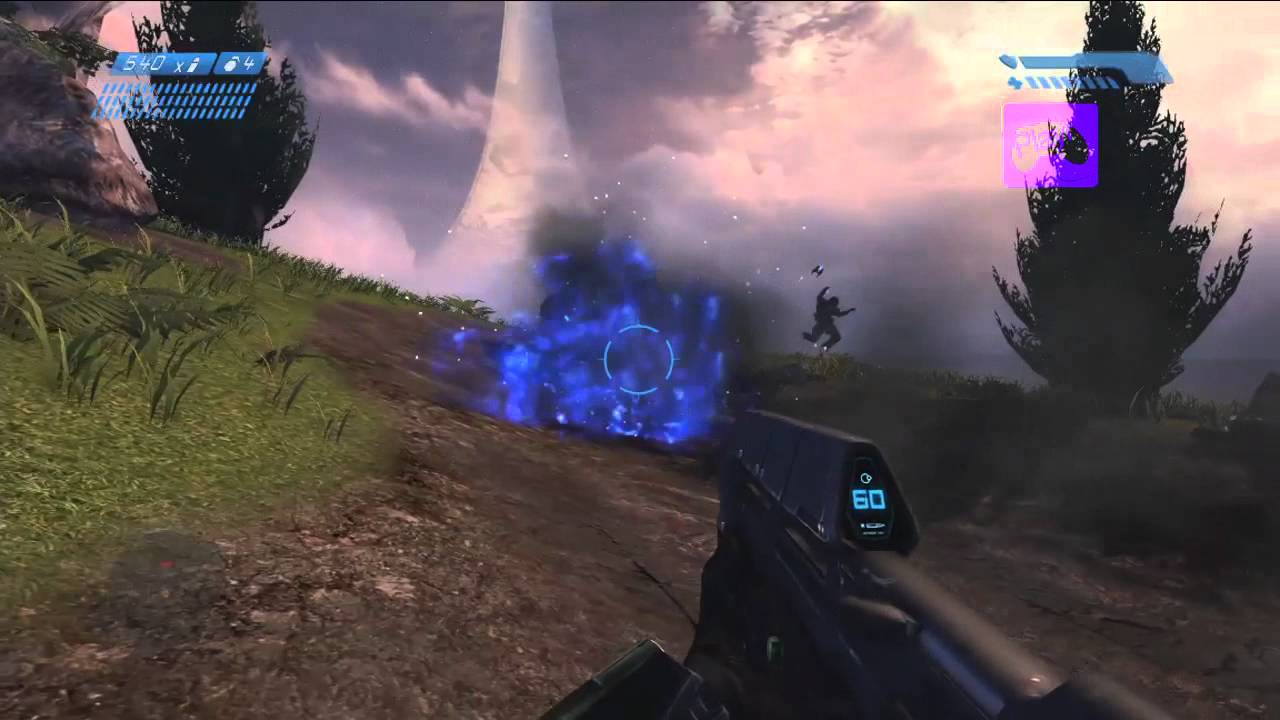
Okay. Deep breath. This is the annoying one.
Head to the left-hand objective this time — the one that eventually routes you underground. Don't go underground yet, though.
Climb the big structure sitting in the middle of the battlefield, near that blue light. There are diagonal ramps right beside it that'll get you up top.
The Skull sits on the far side of that structure. A normal jump won't clear the gap. You need to:
- Save your grenades beforehand — don't waste them in the fight
- Drop a grenade right at your feet
- Time your jump to launch off the explosion
It's finicky. It might take you five or six tries to nail the timing. That's normal — don't assume you're doing it wrong just because attempt three failed.
Shortcut for the frustrated: if you've already unlocked the Acrophobia Skull from "The Silent Cartographer," come back with it active. It gives Chief better aerial control and turns this whole grenade-jump nightmare into a non-issue.
What does Grunt Funeral actually do?
Kill a Grunt, and it erupts in plasma. Simple as that.
It's genuinely funny the first time. Then you realize a pack of Grunts basically turns into a minefield, and standing too close when they drop can absolutely get you killed too.
Floor Is Lava Skull
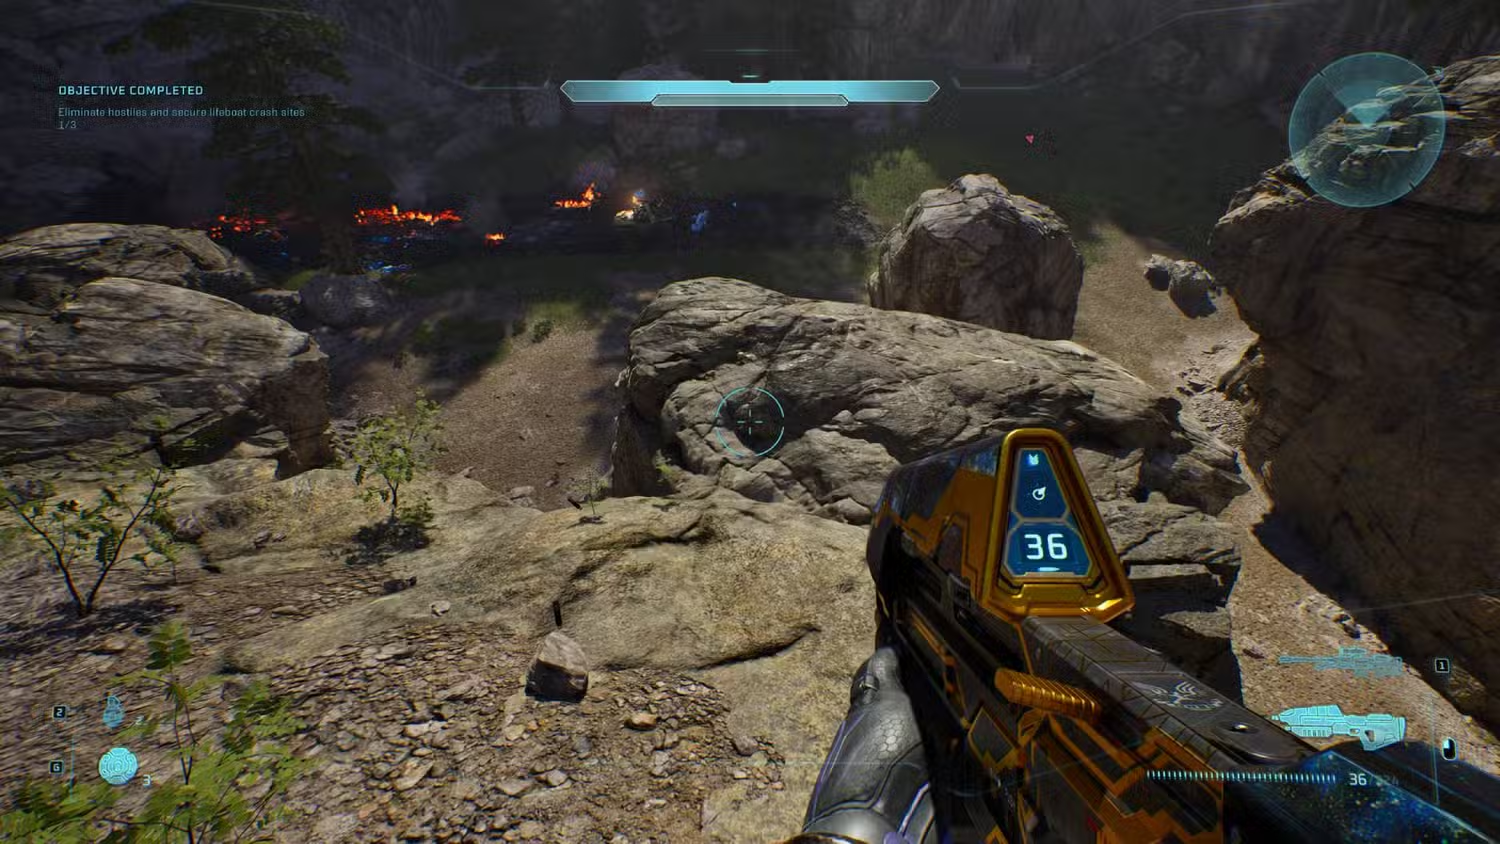
Last one. Head to the rocky area tied to the right-hand rescue objective.
Work your way to the back of the section and start climbing the rock formations. Keep pushing right as you go higher.
Once you're up top, look down. The Skull's resting on a lower ledge below you.
Drop down carefully — fall too far and you'll overshoot it, and you'll have to climb the whole thing again from the back. The whisper sound gets louder the closer you get, so if you're playing with headphones, use them.
What does Floor Is Lava actually do?
Exactly what the name promises. Touch the ground, take damage. Constantly.
Suddenly every rock, vehicle roof, and elevated ledge becomes prime real estate. Open battlefields with sparse cover turn into genuine platforming puzzles. It's brutal, but it's also one of the more creative modifiers in the game.
How to Actually Turn These On
Grabbing a Skull doesn't switch anything on by itself — that trips people up constantly.
Go back to the campaign menu, pick a mission or rally point, and open the Skull options under Campaign Remix. Toggle whatever you want before you launch.
Good news: once unlocked, a Skull stays unlocked. No re-grinding required on future runs.
For context on scale — Halo: Campaign Evolved packs 42 Skull modifiers total, three tucked into each of its 13 main and bonus missions, plus three more that unlock automatically through Campaign Remix itself. Add in the Terminals, and you're looking at 13 lore entries scattered across the whole campaign for the completionists out there.
That grenade jump is still going to annoy you, though. No way around that one.